Title: How to effectively change the bird sand in an aviary?
Introduction:
Welcome to our blog post on the topic of “How to effectively change the bird sand in an aviary?” If you are a bird owner and want to keep your feathered friends happy and healthy, it is crucial to understand the importance of regularly replacing the bird sand in their aviary. In this article, we will provide you with valuable tips and advice on how to optimize the care of your birds by effectively changing their sand.
Why is it important to change the bird sand?
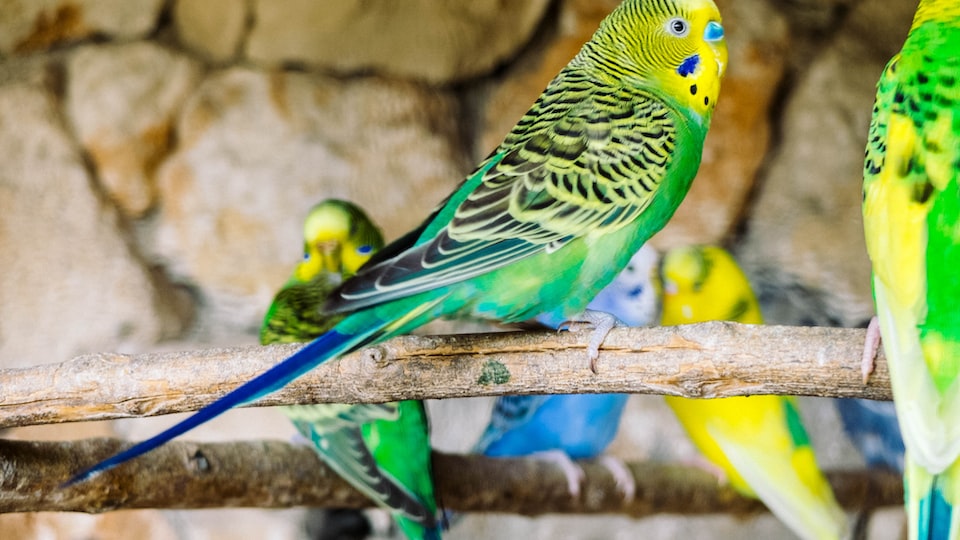
Bird sand is an essential element in an aviary as it provides multiple benefits for your feathered pets. It helps to maintain proper hygiene, prevents the formation of harmful bacteria or fungi, and absorbs excess moisture. However, over time, bird sand can become dirty and contaminated, which can negatively affect the health of your birds. Regularly changing the bird sand is crucial to ensure a clean and safe environment for your beloved avian friends.
Choosing the right time to change the bird sand:
Before we dive into the process of changing the bird sand, let’s discuss when it is the best time to do so. It is recommended to change the bird sand once a week or as needed, depending on the number of birds and the size of the aviary. Observing the cleanliness and condition of the sand will help you determine when it needs to be replaced.
Step-by-step guide to changing the bird sand:
Step 1: Prepare the necessary tools and materials:
Gather all the necessary tools and materials before starting the process. You will need a shovel or scoop, a bin or bag for discarding the old sand, and a clean and fresh batch of bird sand.
Step 2: Empty the aviary:
To begin, carefully remove all the birds from the aviary and place them in a safe and temporary enclosure. Ensure that the new enclosure provides a similar environment to the aviary, with food, water, and perches.
Step 3: Scoop out the old sand:
Using a shovel or scoop, start scooping out the old bird sand from the aviary. Be thorough and make sure to remove all the sand, including any build-up in corners or crevices.
Step 4: Clean the aviary:
After removing the old sand, it is essential to clean the aviary thoroughly. Use a mild avian-safe disinfectant diluted in water to clean all surfaces, perches, and accessories. Rinse well to remove any residue, and allow the aviary to dry completely before moving to the next step.
Step 5: Add fresh bird sand:
Once the aviary is clean and dry, it is time to add a clean and fresh batch of bird sand. Ensure the sand is of good quality and suitable for your bird species. Spread an even layer of sand on the aviary floor, aiming for a depth of approximately 1-2 inches.
Step 6: Return the birds to the aviary:
Now that the aviary is ready with clean sand, carefully bring the birds back into their clean and refreshed environment. Observe their behavior to ensure they are comfortable and adjust any perches or toys as needed.
Conclusion:
Regularly changing the bird sand in your aviary is crucial for the overall health and well-being of your feathered companions. By following these simple steps and guidelines, you can provide a clean and hygienic environment that promotes the happiness and longevity of your birds. Remember, a healthy environment leads to healthy birds!
Don’t forget to check out this informative video on avian sand care:
Changing the bird sand in your aviary doesn’t have to be a daunting task. With the right knowledge and techniques, you can ensure that your birds are provided with a clean and safe environment. Now go ahead and give your feathered friends the care they deserve!
Leave a Reply